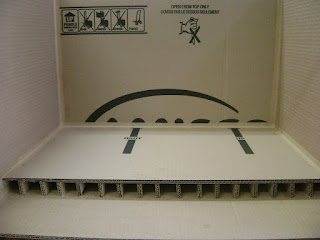
I'm now ready to add the next shelf. This one will be 18 inches above the first one. I lay the unit on it's back so it will be easier to glue the struts. The struts I cut are 18 X 1 inch, with the flutes running lengthwise. Here I have the box laying on it's back.
I glue the struts along the back wall, touching the previous shelf for alignment. They look like this. I also used regular white glue instead of the glue gun. I wasn't in a rush as I was before.
I cut a wall section to fit this area, before I glue the side wall struts. I'm working on this section only for now. I glue the wall piece on top of the struts and weight it down to dry for a couple of hours. Then I tape the joins.
It now looks like this.
I repeat this same step for one side wall and tape the joins.
I repeat for the other side wall and tape it too. Notice the strut that is at the edge of the outside? This is piece is important. It becomes the face of the wall section when seen from the front.
The shelf walls on this went much faster than the first one except for the drying. Here it is setting upright again. You can see I've started sanding and taping the edges of the walls.
I'm ready to add the shelf part on top of the just added walls. You ready for step 5?


No comments:
Post a Comment