Creating this shelf is basically the same as step 3. Cut a bottom piece the correct size, side to side, front to back. Cut the struts with the flutes going up and down. Glue in place.

Glue the struts and add the top piece.

When it's all dry it should fit snug. Tape up the joins.

Add the front strut.

Sand and tape the edges.
In this type of construction the steps are the same for adding all shelves and walls. First the wall, then the shelf. This section (1 of 4) of my breakfast bar has 2 shelves. I could have added as many shelves as I wanted of any depth. You can change them in any way that works for whatever you are creating. I think it's kind of like building a house. You have outside walls, then studs, then the inside walls. You have a ceiling. You create a second or third floor the same way and add load bearing walls. You can change it however you like. You can add walls or you can take them away. The choice is yours to make.
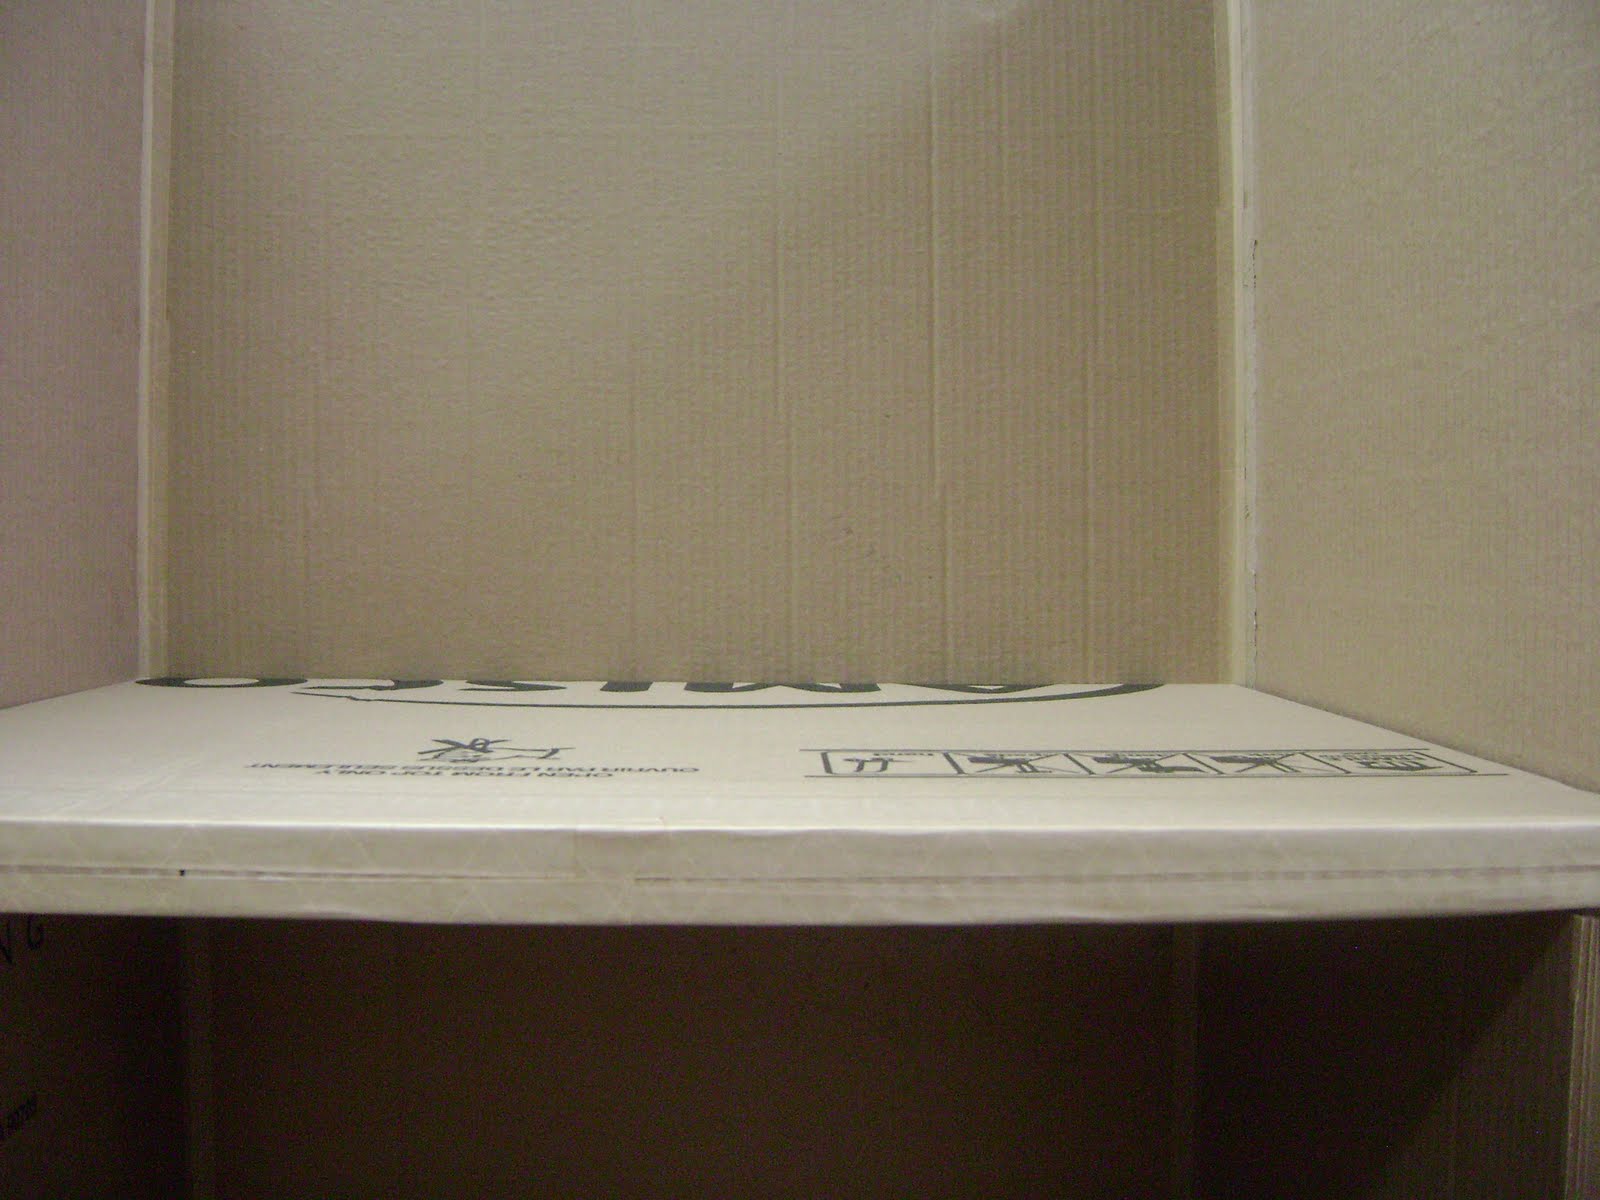
This technique is also the most versatile of the two techniques I use. This is how my breakfast bar section looks now. Notice how I've closed up the walls above the top shelf? The actual top and bottom portion of this will be made when I'm finished making the other units. All the units will be attached to each other and then the top and bottom will be added.

I'm thinking that I already want to make a couple of changes to this unit. You ready for step 6?

2 comments:
Can't wait for step six. I build bookcases and cabinets with plywood and oak, so I know exactly what you are talking about in the construction steps with these units. Now, I want to use cardboard too. I need to find a resource for this in my area. Thanks!
Oooo, I'm so glad someone is planning to make cardboard furniture too! It won't be as fast as buying plywood and oak but it sure will be cheaper. If you have a way to transport it then look behind furniture stores for their dumpsters. They have double fluted boxes more often than other places.
Post a Comment