I'm skipping ahead to the next step instead of making more drawers. I still want to make more drawers for my cabinet but I'm short on cardboard. I need to save what large pieces I have to start making the second section of the breakfast bar. It's best to cut your largest pieces first and use leftovers to cut smaller pieces. I can add more drawers when I get a new supply of cardboard. I don't want to hold up the instruction posts while I wait for more cardboard.
For this next step it's time to hide the imperfections of the cardboard and smooth the transition (hide the edges) between the water based tape and the cardboard. The cardboard furniture will never be as perfectly smooth as a good piece of sanded wood because it's not real wood. We just want to do what we can to get as smooth as possible.
I have this bucket of wall paper paste I bought at the hardware store.

I also need something to use as a paper coating. Whatever scrap paper you have handy will work. Like an old phone book, newspapers, magazines, or tissue paper. Old phone books and newspapers are easy to get. Tissue paper is really too thin in my opinion but you could use it if you have a good supply.
I'm going to decoupage the whole thing with the paper and wall paper paste. Here I've started working on the drawer. I coat everything on the whole furniture piece, inside and out with the paper and paste. Notice how the flutes don't show on the top of the drawer? That's because I've covered it with kraft tape.
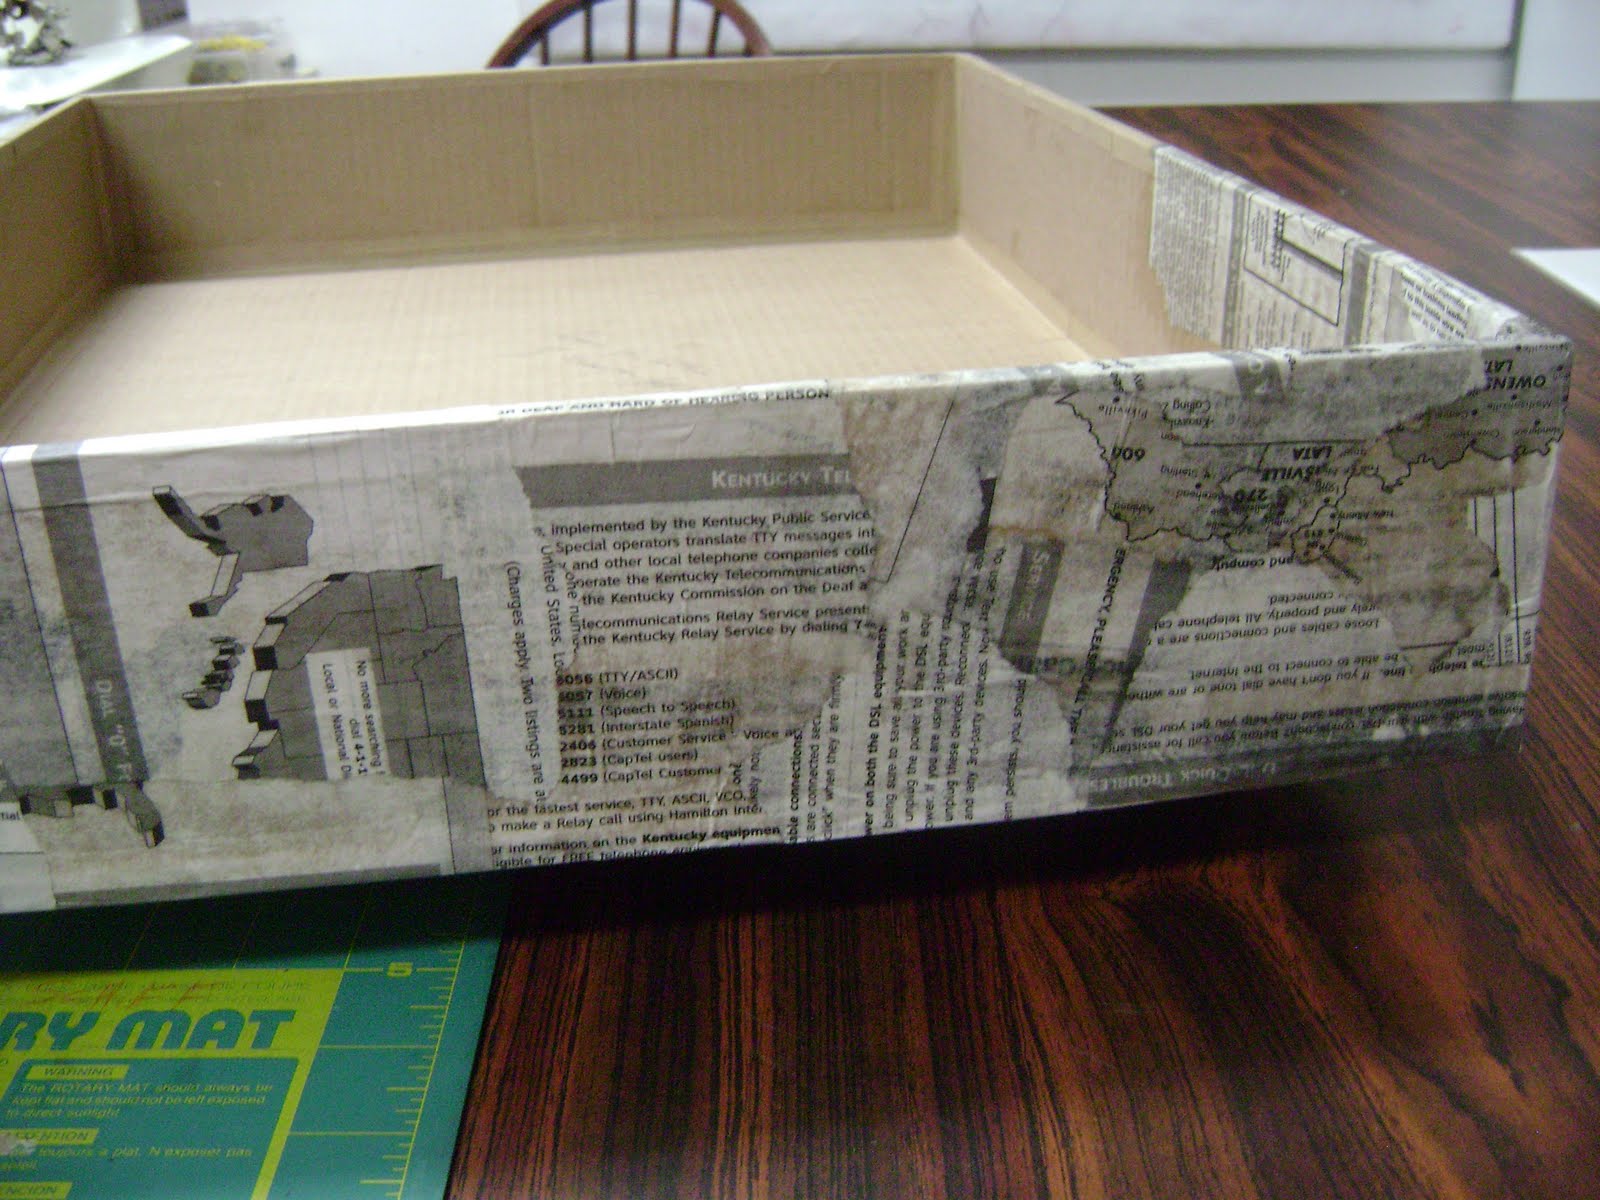
Here's the basic steps. Tear your paper into pieces with irregular shapes. Smaller pieces are easier to work with. Paint on a coat of paste where you plan to put the paper.

Lay the paper on the paste, overlapping the edge of the previous paper, and paint a coat of paste over that. In this photo I'm working on the cabinet. I'm not covering the bottom edge just yet. That is another step that will be finished when the sections are put together.

Paint a coat of paste over the next area, lay paper there, and paint with more paste.

This decoupage step can also be done with white school glue. School glue can be bought by the gallon at the hardware store. Can you see in the photo how the paper hides the edges of the kraft tape to create a smoother finish? Ok, yes, I see the line across the cardboard. I'm leaving that because it's the side that will be attached to the next section. It won't be visible from the outside when the whole breakfast bar is complete. If this side were going to be visible I would cover it with kraft tape before doing the paper coating.
Also, when you are doing the paper coating you will get little imperfections. A small fold here and there or ripples that don't seem to want to brush out. Do the best you can to stay smooth but don't stress about those. Use your fingers to smooth the paper the best you can.
Decoupage the whole thing with the paper and let it dry.
You ready for step 8?

No comments:
Post a Comment